Beyond the Crescent Moon: Advanced “Do Not Disturb” Setups
Flipping on the basic “Do Not Disturb” is a start, but it’s like using a sledgehammer for a task that requires a scalpel. You block everything and risk missing a genuine emergency, creating a new kind of anxiety. The professional approach is nuanced. It involves telling your phone precisely who and what is allowed to pass the gate, and under what conditions.
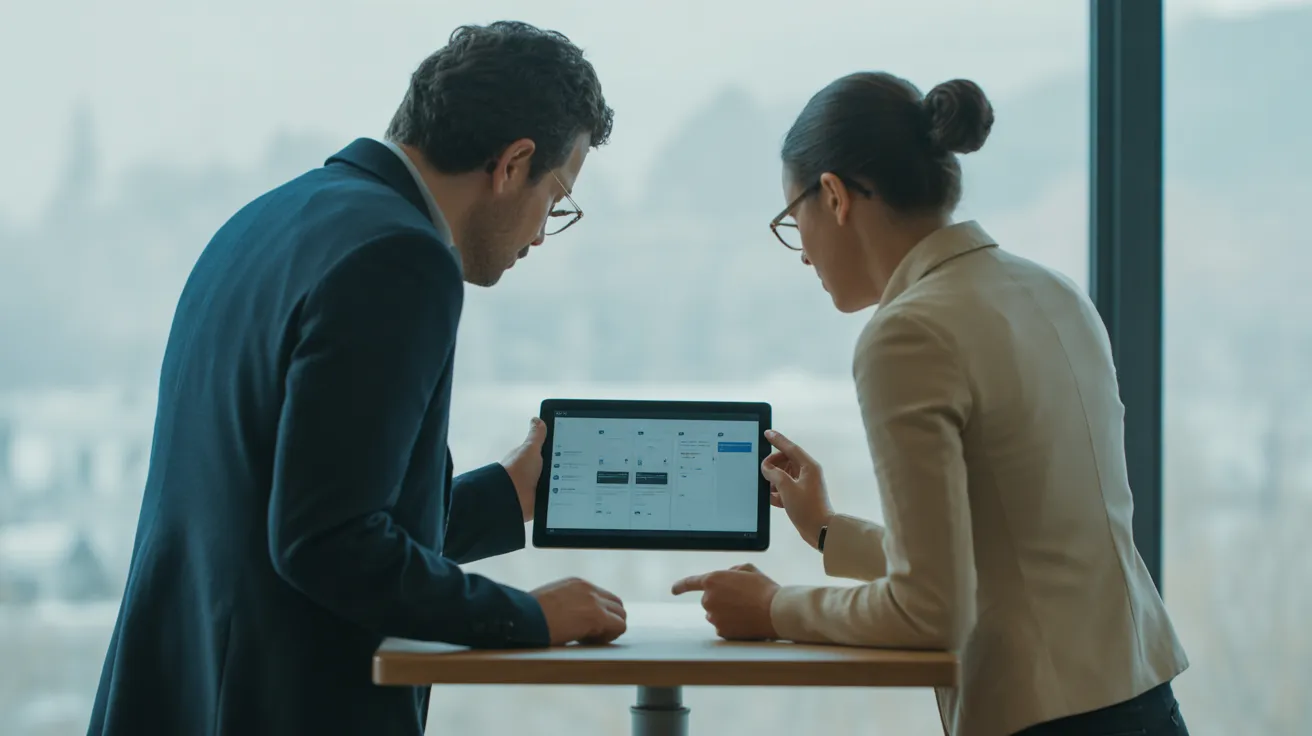
Let’s build your system from the ground up. This isn’t just a list of settings; it’s a philosophy for curating your attention.
Step 1: The Foundational Audit and Your VIP Whitelist
Before you automate anything, you must define your rules. Go into your phone’s settings and find the “Do Not Disturb” or “Focus” menu. Your first decision is about calls. You’ll see an option like “Allow Calls From.” Most people set this to “All Contacts,” which is a mistake. It still allows hundreds of people to interrupt you.
Your mission is to curate a “Favorites” list in your contacts app that serves a single purpose: emergency access. This is not your list of best friends or favorite family members. This is your “the-house-is-on-fire” list. It should be incredibly short: your partner, your children’s school, your parents, perhaps your direct manager. That’s it. Now, set “Allow Calls From” to “Favorites” only.
Next, you’ll see a toggle for “Repeated Calls.” This allows a second call from the same number within three minutes to break through. This is your safety net for the unknown number that is truly urgent—a doctor’s office, for example. For most people, it’s wise to leave this turned on.
Step 2: Automating Your Sanctuary with Schedules
Your brain and body crave rhythm. One of the most powerful ways to improve your life is to protect your sleep. Use the scheduling feature to have “Do Not Disturb” turn on automatically 30 to 60 minutes before your bedtime and turn off when you wake up. This small act creates a digital sundown, signaling to your brain that it’s time to wind down. It prevents a late-night email from hijacking your thoughts just as you’re drifting off. The benefits to sleep quality are immense, as research from institutions like the Sleep Foundation consistently shows.
But don’t stop at sleep. If you have a recurring block of time for deep work—say, 9 AM to 11 AM every Tuesday and Thursday—create a schedule for it. Let your phone automatically enforce the boundaries you’ve chosen. Automation is crucial because it removes the daily decision-making and the willpower required to activate DND manually.
Step 3: The Pro Level—Context-Aware Focus Modes
This is where the magic happens. Modern smartphones (like iPhones with “Focus” and Androids with “Modes and Routines”) allow you to create multiple, distinct “Do Not Disturb” profiles that can trigger based on time, location, or even the app you’re using. Let’s build a “Deep Work” mode together.
First, create a new mode and name it “Deep Work.” Under “Allowed People,” select “None” or, at most, your tiny list of “Favorites.” Under “Allowed Apps,” be ruthless. Allow nothing that isn’t essential to the task at hand. Maybe a timer app, a specific music app, and a notes app. That’s it. No email, no social media, no news.
Now for the killer feature: the custom Home Screen. A Focus Mode can change what your phone’s screen looks like when it’s active. This is our one-screen phone settings tweak. Create a new, blank Home Screen page. On it, place only the widgets and apps you just allowed—your timer, your music app. When “Deep Work” mode is on, this minimalist screen is the only one you’ll see. The endless grid of distracting apps simply vanishes. The friction to get distracted becomes enormous; you’d have to actively disable the Focus Mode to even see the Twitter icon.
Finally, set your triggers. You can have this “Deep Work” mode turn on automatically when you arrive at your office. You can link it to your calendar, so it activates whenever an event titled “Focus Block” begins. Or you can create a simple one-tap shortcut on your main screen to toggle it on or off manually. You have now built a digital environment completely optimized for concentration.