Take a look at your desk right now. What do you see? If the answer involves stray papers, tangled cords, forgotten coffee mugs, and a general sense of chaos, you are not alone. For many of us, the desk is the epicenter of our productivity, but it quickly becomes a landscape of distraction and stress. Each item sitting out of place, each pile of undecided papers, creates a tiny bit of mental drag. We call this visual friction: the subtle, cumulative resistance our brain feels when surrounded by disorder. It pulls at your focus, drains your energy, and makes starting even the simplest task feel like a monumental effort.
The common advice is to “be more organized” or to summon more willpower to tidy up. But at The Focused Method, we believe that lasting change comes from systems, not just strength of will. A truly productive desk setup with no clutter isn’t the result of a massive, one-time cleaning marathon. It’s the product of simple, low-maintenance habits and an environment designed to support focus, not fight it. It’s about creating a space that feels calm, clear, and ready for work before you even sit down.
This guide is not about color-coded files or perfectly aligned pen pots, unless that truly serves you. Instead, it’s about building a practical framework that reduces decision-making, automates tidiness, and gives every item a logical, effortless home. We will walk you through how to declutter your desk for good by creating a system that works with your natural tendencies, not against them. Prepare to transform your workspace from a source of stress into a sanctuary of productivity.
📚 Table of Contents
- The Foundation: Zoning and Flow for a Clutter-Free Desk
- Building the Habit: Simple Daily and Weekly Resets
- Mastering Your Space: Strategies for Small and Shared Desks
- Putting It Into Practice: Two “No-Clutter” Desk Makeovers
- Frequently Asked Questions About Desk Organization
- How do I tackle a huge backlog of paper? It feels so overwhelming.
- How can I get my family or partner on board with keeping a shared desk clean?
- What should I do with sentimental items on my desk? They bring me joy but also create clutter.
- My desk is tiny. Are these systems even possible for me?
- Digital clutter is my real problem. Any quick tips for my computer desktop?
- Your First Steps to a Calm, Productive Desk

The Foundation: Zoning and Flow for a Clutter-Free Desk
The secret to effortless desk organization is to stop thinking about “cleaning” and start thinking about “flow.” Your desk is not just a flat surface; it’s a dynamic environment where tasks begin and end. The goal is to design this environment so that the path of least resistance leads to tidiness. This starts with two core concepts: working zones and the one-touch rule.
To simplify your zoning process, identify the only 5 things you need in your workspace to keep distractions at an absolute minimum.
To further reduce the physical items entering your workspace, consider transitioning to a paperless workflow to keep your surfaces permanently clear.
First, let’s establish your working zones. Imagine your desk as a piece of real estate, with different areas designated for specific types of activity. This simple act of assigning purpose to space drastically reduces clutter, as items no longer drift aimlessly.
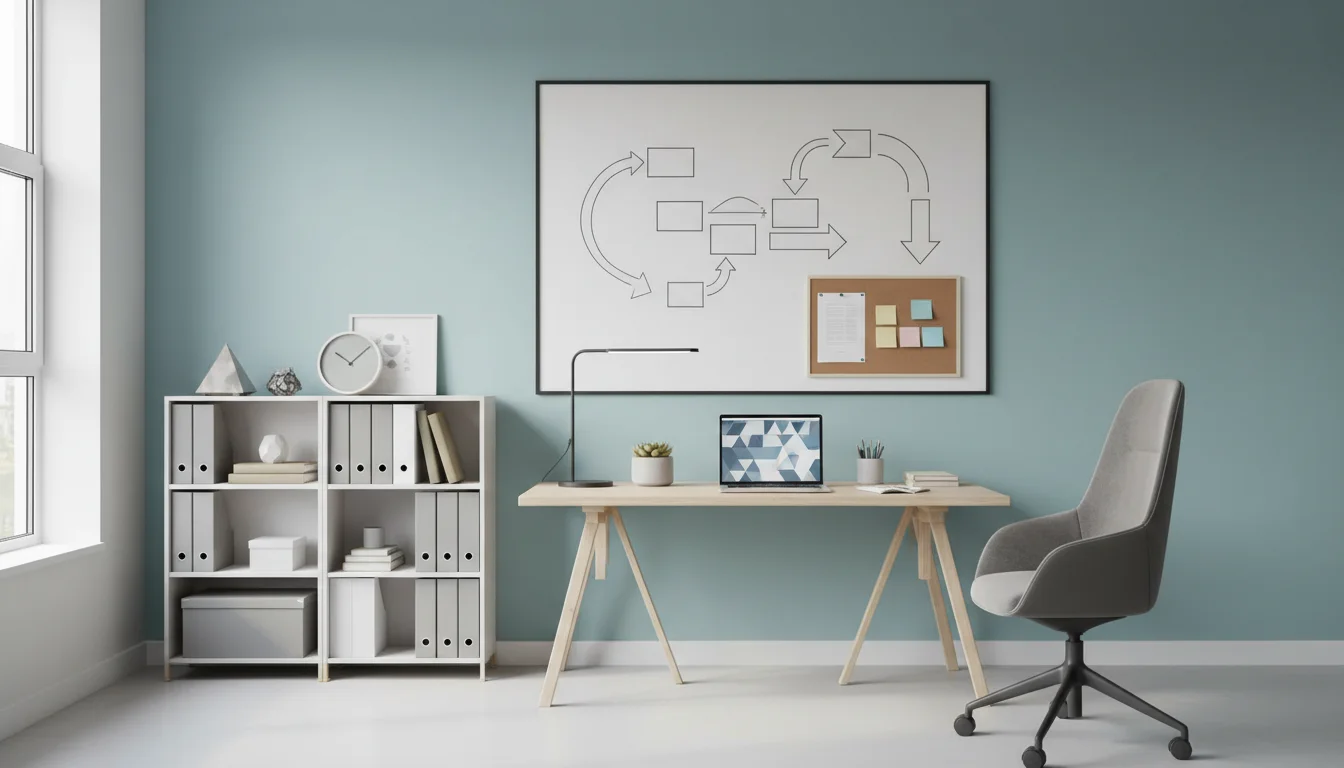
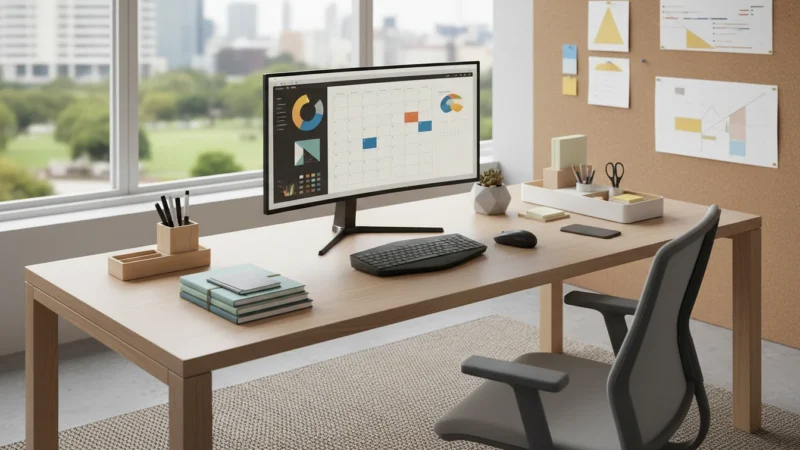
Your Primary Zone is the most valuable real estate, directly in front of you where you sit. This area should be reserved for the tools you are actively using right now. For most people, this means your keyboard, mouse, and monitor. Nothing else should live here permanently. It is your zone of active focus, and it should remain as clear as possible.
Your Secondary Zone is the area within easy arm’s reach. This is for items you use frequently throughout the day, but not constantly. Think of your notebook, a single pen, your water bottle, or a charging dock for your phone. These items have a home here, but they shouldn’t encroach on the primary zone. By keeping them close but not central, you maintain focus while ensuring efficiency.
Finally, your Tertiary Zone includes the periphery of your desk and the drawers or shelves nearby. This is the designated home for everything else: extra pens, reference books, staplers, files, and other supplies. These are the tools you need, but not every hour. Giving them a home in a drawer or a vertical file holder on the corner of your desk keeps them accessible without contributing to visual friction.
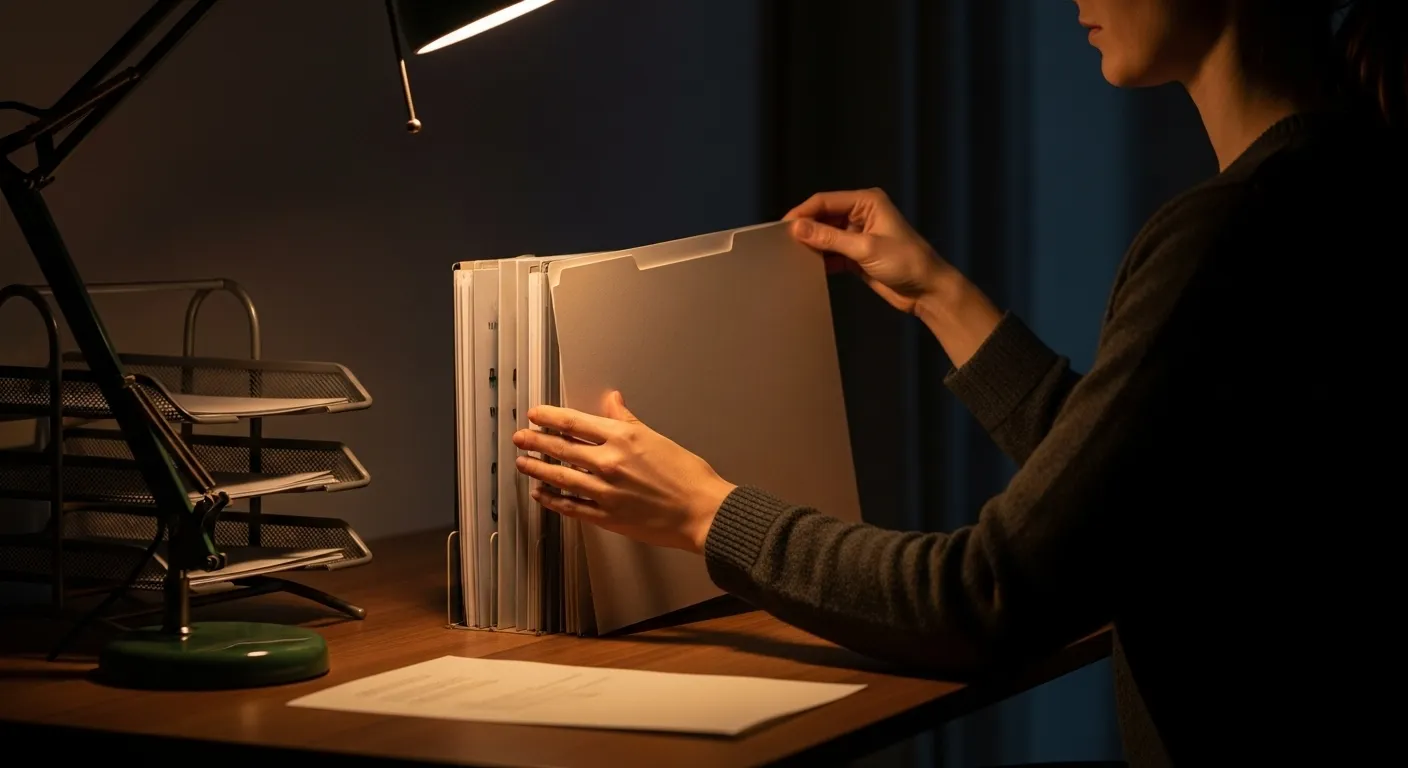
Once your zones are defined, you can implement the one-touch rule. This is a simple but powerful principle: whenever you pick up an item, you deal with it completely in that moment. When mail comes in, you don’t put it in a “to-do” pile on your desk. You touch it once: open it, decide what to do with it (pay it, file it, or trash it), and complete the action. The same goes for a note you jot down, a report you print, or a business card you receive. This rule prevents the formation of the dreaded “miscellaneous pile” that is the start of all major desk clutter.
This system thrives on a label-light approach. You don’t need a label maker to tell you that your primary zone is for your keyboard. The location is the label. By creating an intuitive layout, you reduce the mental energy required to keep your desk clean. Putting your pen back in its cup in the secondary zone becomes an automatic, thoughtless action, like putting your keys on their hook when you walk in the door. You’re not “tidying up”; you’re simply completing a workflow. This is the essence of how to keep a clean desk with minimal effort.

Building the Habit: Simple Daily and Weekly Resets
A system is only as good as the habits that support it. Even the most perfectly zoned desk will succumb to chaos without regular maintenance. The key is to make this maintenance so simple and quick that it becomes an effortless part of your routine. This is where the concept of reset points comes into play. A reset point is a pre-scheduled, non-negotiable block of time dedicated to bringing your environment back to its baseline state. It’s not a deep clean; it’s a quick, systematic tidy that prevents small messes from snowballing.
Developing a consistent routine is the secret to maintaining an organized home and workspace with very little daily effort.
The most crucial reset is the 10-Minute Daily Reset. Schedule this for the very end of your workday, just before you sign off. Set a timer for ten minutes and follow a simple checklist. First, clear your primary zone completely. This means putting away your notebook, pens, and any stray papers. Second, address any new items that have landed on your desk during the day. Apply the one-touch rule: file the document, pay the bill, add the note to your digital to-do list, or throw it away. Third, put all tools back in their designated secondary or tertiary homes. Pens go in the holder, stapler goes in the drawer. Finally, give the surface a quick wipe. When the timer goes off, you’re done. The goal isn’t perfection; it’s progress. Walking away from a clear desk provides powerful psychological closure to the workday and ensures you start the next day with a clean slate, free from yesterday’s visual friction.
In addition to the daily reset, a Weekly Desk Declutter is essential for handling tasks that take a bit more time. Dedicate 20-30 minutes every Friday afternoon, for example. This is your time to process your physical inbox tray completely. Go through any mail, memos, or notes that have accumulated. Empty your trash and recycling bins. This is also a great time to manage any lingering digital clutter.
Speaking of which, your digital desktop deserves its own reset. A computer screen filled with dozens of icons and unsorted files is just as distracting as a physical mess. Apply the same principles. Your desktop is your primary digital workspace; keep it as clear as possible. Create a single folder on your desktop named “Inbox” or “To Process.” Throughout the week, save all new downloads and files there. During your weekly reset, go through that folder. Sort the files into their permanent homes in your documents folder, archive them, or delete them. Just like its physical counterpart, a clean digital desk reduces friction and helps you find what you need, when you need it.
These resets are the engine of your productive desk setup. They are small, consistent actions that do the heavy lifting for you. By embedding these simple routines into your schedule, you stop relying on motivation and start running on a system that maintains order automatically.
Mastering Your Space: Strategies for Small and Shared Desks
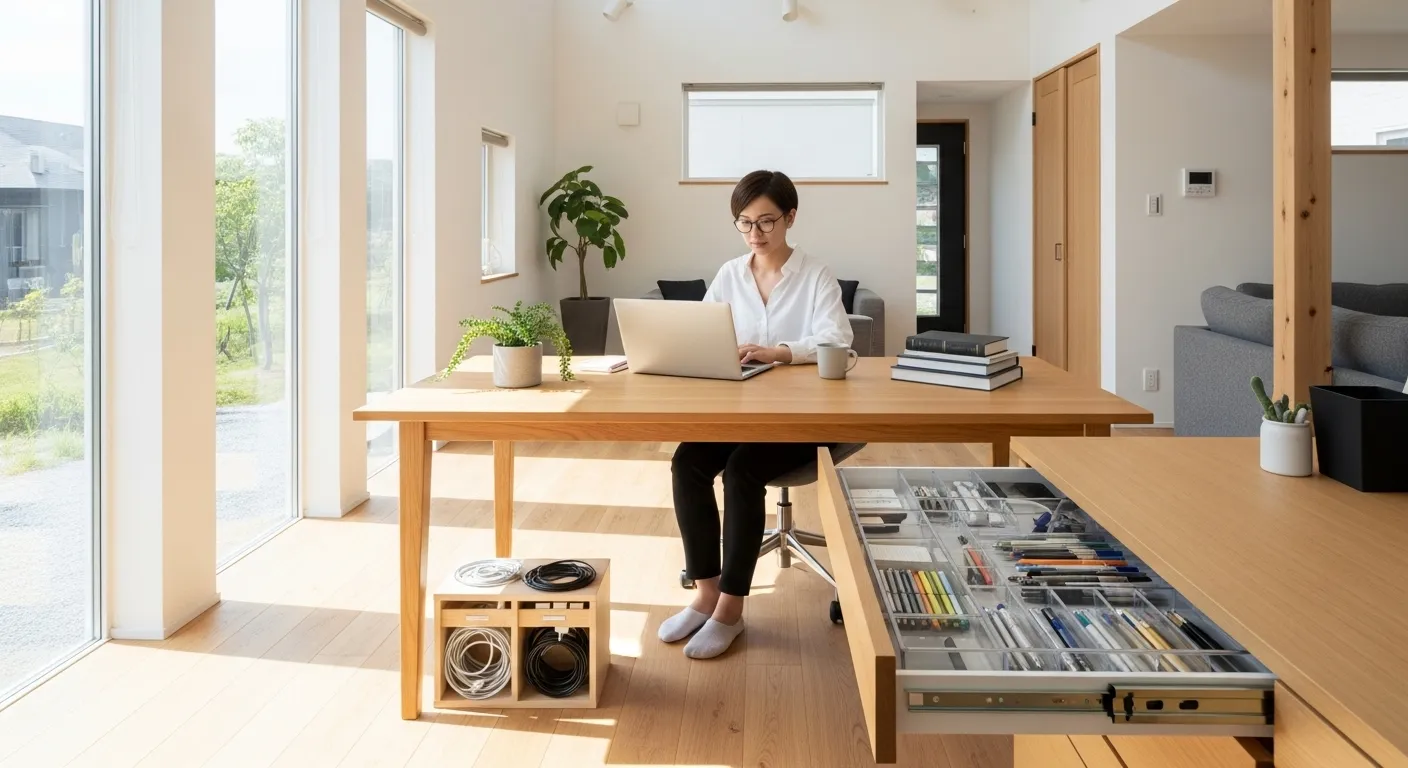
The principles of a no-clutter desk apply universally, but the tactics must adapt to the reality of your space. Not everyone has a sprawling executive desk in a dedicated home office. Many of us are working from a small corner of a bedroom, a tiny nook in an apartment, or a shared space with a partner or family. In these situations, effective desk organization isn’t just a preference; it’s a necessity for sanity and focus.
In more compact work areas, utilizing smart storage solutions is the most effective way to reclaim your surface area.
When dealing with a small desk, the most critical strategy is to think vertically. When you can’t build out, you must build up. A monitor stand with a built-in drawer or shelf underneath is one of the best investments you can make. It elevates your screen to an ergonomic height while instantly creating a new surface to store your keyboard and mouse when not in use, clearing your primary zone. Wall-mounted shelves or magnetic boards above the desk are perfect for getting tertiary items like office supplies and reference materials off the surface entirely. A slim, vertical file holder can organize important papers without consuming a large footprint.
Multi-functional items are also your best friend in a small space. A lamp with a built-in pen holder and USB charging port, for example, combines three functions into one. A decorative box can serve as a riser for your laptop while also storing cables and chargers inside. The goal is to make every item on your desk earn its keep. If it doesn’t serve a critical, frequent function, it should be stored elsewhere. Companies like Muji are masters of creating compact, modular organization solutions that work wonders in tight quarters.
Shared spaces present a different set of challenges, centered on boundaries and communication. If you share a desk or a workspace, establishing clear zones is non-negotiable. Use a desk mat or a strip of subtle tape to visually delineate your side from your partner’s. This simple environmental cue helps prevent “clutter creep,” where one person’s items slowly invade the other’s space. Each person should have their own dedicated storage, even if it’s just a single drawer or a portable caddy.
A portable desk caddy or tray is a fantastic solution for shared environments or for those who work at the kitchen table. At the beginning of the day, you bring out your caddy containing your laptop, notebook, pens, and essentials. At the end of the day, your entire “office” packs neatly back into the caddy and gets stored on a shelf. This makes your daily reset incredibly fast and respects the multi-purpose nature of the space.
You don’t need to spend a lot of money to achieve a clean desk. Low-cost storage solutions are everywhere. Repurpose glass jars for pens, use an old shoebox with dividers for cables, or find simple, attractive trays at a thrift store. You can find excellent, affordable drawer organizers and file holders at retailers like IKEA or The Container Store. The effectiveness of a desk organization system lies in its design and your habits, not in the price tag of its components.

Putting It Into Practice: Two “No-Clutter” Desk Makeovers
Theory is helpful, but seeing these principles in action makes them tangible. Let’s walk through two common scenarios—a cluttered home office desk and a chaotic kitchen command center—and apply the systems-based approach to transform them in prose.
Mini Makeover 1: The Home Office Desk
The Before: Sarah’s home office desk was a classic case of high visual friction. A large monitor sat in the middle, but it was flanked by precarious piles of paper—invoices on the left, project notes on the right. Three coffee mugs, in various states of use, were scattered about. A tangle of charging cables for her phone, headphones, and tablet created a “tech nest” in one corner. Pens, highlighters, and sticky notes were strewn across the primary work zone, forcing her to push things aside just to use her keyboard.
The Process: First, we applied the zoning principle. We cleared everything off the desk. We designated the area for her keyboard and mouse as the primary zone. We then introduced a monitor stand. This simple addition immediately created a secondary zone on top for her daily notebook and a single pen, and a space underneath to slide the keyboard away at day’s end. A single, dedicated tray was introduced as her “inbox” for all new papers, eliminating the piles. This tray lived in her tertiary zone on the far-left corner. We corralled all the cables with simple velcro ties and ran them through a cable management box that sat discreetly behind the monitor. Her extra pens and supplies were given a home in the top desk drawer, with a simple divider to keep them organized. Finally, we established a “reset point” for 5 PM every day, a 10-minute calendar event to clear the inbox, put the notebook away, and wipe the surface.
The After: Sarah’s desk is now a calm and productive desk setup with no clutter. When she sits down to work, the only things in front of her are her screen, keyboard, and mouse. Her notebook is within easy reach but not in the way. Papers have a single place to go, and the decision of what to do with them is deferred to one predictable time. The space feels open, focused, and ready for work, a direct result of system design, not a sudden burst of organizational willpower.

Mini Makeover 2: The Kitchen Command Center
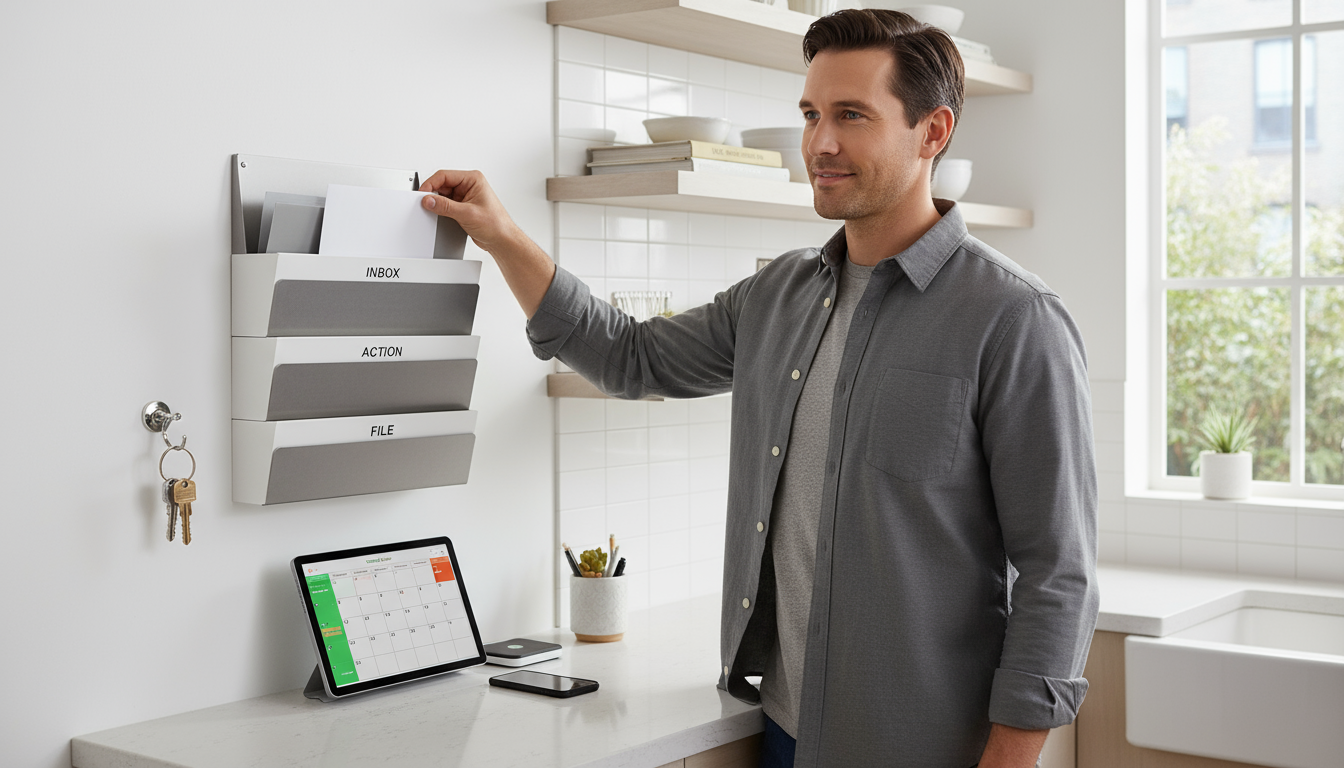
The Before: Mark’s “desk” was a corner of the kitchen counter that had become a magnet for household clutter. It was covered in a mix of unopened mail, permission slips from his kids’ school, keys, loose change, grocery lists, and a collection of dying pens. It was a stressful bottleneck that made finding anything a frantic search and made the whole kitchen feel messy.
The Process: We started by defining the space’s core purpose: a hub for managing mail, schedules, and daily transitions. We immediately utilized the vertical space above the counter. We installed a small wall-mounted mail sorter with three slots: “Inbox,” “Action,” and “File.” All incoming mail now goes directly into the inbox. A small hook for keys was installed right beside it. We placed a single, attractive ceramic bowl for loose change and other pocket contents. For the paper clutter, we implemented a weekly reset. Every Sunday evening, Mark and his family take 15 minutes to process the mail sorter. Bills in the “Action” slot get paid, papers in the “File” slot get filed, and the rest is recycled. A small whiteboard was added for the grocery list, eliminating the scattered paper notes.
The After: The counter corner is no longer a source of chaos. It’s a functional, streamlined command center. The flow is intuitive: walk in, hang keys, empty pockets into the bowl, and place mail in the inbox. The system contains the clutter and provides a simple, predictable routine for dealing with it. The kitchen feels calmer, and the family spends less time searching for lost items and more time connecting.

Frequently Asked Questions About Desk Organization
How do I tackle a huge backlog of paper? It feels so overwhelming.
The key to a large decluttering project is to break it down into manageable pieces. Do not try to sort through years of paper in one weekend; you’ll burn out. Instead, schedule short, focused blocks of time—just 15 or 20 minutes a day, or two one-hour sessions a week. Get three boxes and label them: File, Scan, and Shred/Recycle. During each session, set a timer and work through one small pile. Don’t overthink it. Make a quick decision for each piece of paper and put it in the appropriate box. The goal is progress, not immediate perfection. Once you’ve worked through the backlog, the daily and weekly reset systems will prevent it from ever building up again.
How can I get my family or partner on board with keeping a shared desk clean?
This is a common challenge, and the solution lies in collaboration and shared benefits, not demands. Start by having a conversation about how the clutter makes you feel and how a clear space could benefit everyone (e.g., “It would be so much less stressful if we could always find the bills when we need them.”). Frame the desk organization project as a team effort. Define clear, visually distinct zones for each person. Give each person their own inbox tray. This contains their mess to their area and gives them ownership. Focus on the simplest possible system that you can both agree to maintain, like a 5-minute shared reset at the end of the day. When the system is easy and the benefits are clear, buy-in is much more likely.
What should I do with sentimental items on my desk? They bring me joy but also create clutter.
Sentimental items are important, but their purpose is to inspire, not to overwhelm. The best approach is to curate, not collect. Instead of having five framed photos, a collection of souvenirs, and your child’s art projects on your desk, choose one or two items that are most meaningful to you right now. A single, beautiful photo frame or one special object can have a much greater emotional impact when it’s given space to breathe. For the other items, consider creating a digital scrapbook by taking high-quality photos of them. You can also rotate items seasonally or monthly to keep your desk feeling fresh while still honoring your memories.
My desk is tiny. Are these systems even possible for me?
Absolutely. In fact, these systems are more critical for small spaces. When every square inch counts, there is no room for clutter. The principles of zoning and flow are your most powerful tools. Be ruthless about what earns a spot on your desk. Maximize vertical space with monitor risers and wall organizers. Use a portable caddy to store items that can be put away when not in use. Your daily reset might only take five minutes, but it will have a massive impact on the functionality of your small workspace. A clean desk in a small room can make the entire space feel larger and more serene.
Digital clutter is my real problem. Any quick tips for my computer desktop?
Digital clutter creates the same mental drag as physical clutter. Apply the same principles. Treat your desktop as your primary work zone—it should be kept as clear as possible. Create one single folder on your desktop called “To Process.” Throughout the day, save every new file, download, and screenshot into this folder. Then, during your weekly reset, set aside 15 minutes to go through this folder. Move each file to its permanent home (e.g., “Projects,” “Finances,” “Photos”), rename it clearly, or delete it. This “digital one-touch rule” prevents your desktop from becoming a chaotic dumping ground and ensures you can always find what you’re looking for.

Your First Steps to a Calm, Productive Desk
Transforming your workspace from a cluttered source of stress to a calm platform for focus is not an overnight project. It’s a practice. It’s about building a new set of small, sustainable habits that work for you, in your space. Forget about achieving a picture-perfect desk and concentrate instead on creating a system that feels easy to maintain. The goal is to design an environment where tidiness is the natural outcome, requiring very little thought or willpower.
You now have the framework to declutter your desk and, more importantly, to keep it that way. The power lies in the consistent application of these simple ideas: giving everything a home, touching things only once, and resetting your space regularly. Start small, be consistent, and notice how a clear desk leads to a clearer mind.
Here are three simple resets you can implement this week to begin your journey to a productive desk setup with no clutter:
1. Define Your Three Working Zones. Take five minutes right now. Look at your desk and mentally (or with small sticky notes) designate your primary, secondary, and tertiary zones. Move one item that is in the wrong zone to its correct home.
2. Create a Physical “Inbox.” Find any tray, box, or even a designated corner of your desk. For the next three days, commit to putting every new piece of paper that comes your way into this single spot. This one action will immediately stop new piles from forming.
3. Schedule Your First Daily Reset. Open your calendar and schedule a 10-minute appointment with yourself at the end of your workday today, tomorrow, and the next day. Label it “Desk Reset.” When the reminder pops up, honor it. Put things away, process your new inbox, and wipe the surface. This is the most powerful habit you can build.
By taking these small, deliberate steps, you are not just cleaning your desk. You are designing a system for lasting calm and productivity.
Disclaimer: The information provided in this article is for informational purposes only and does not constitute professional, financial, or legal advice. Please consult with a qualified professional for advice tailored to your specific situation.
For expert guidance on productivity and focus, visit American Psychological Association (APA), Society for Industrial and Organizational Psychology (SIOP), Getting Things Done (GTD), OSHA Ergonomics and National Institutes of Health (NIH).


Leave a Reply