

Paper keeps arriving whether you want it or not: bills, receipts, tax forms, insurance letters, and the occasional document you are afraid to throw away. Most attempts to go paperless stall because every piece forces a new decision about where it goes and whether it is safe to shred.
A fixed pipeline removes those decisions. One tray catches everything. Your phone scans it. One naming rule and five folders hold the files. A short list of originals goes into a document box, and the rest gets shredded. Then you cut off as much of the incoming flow as you can.
Find out where your paper actually comes from
Before buying a scanner, spend one week dropping every piece of incoming paper into a box without opening it. At the end of the week, sort the pile into four stacks: junk and offers, statements you could get online, items that need action, and records you may need to prove something later.
For most households the first two stacks are the largest, so the fastest win is cutting supply rather than scanning faster. The last stack needs the most care, because it holds the documents with tax or legal weight.
Step 1: One physical inbox, processed with the One-Touch Rule
David Allen’s Getting Things Done starts with a single physical in-tray that collects everything, followed by a clarify step that decides what each item is. For paper, that means one tray where mail lands. Envelopes, pocket receipts and school forms go in the tray and nowhere else.
Put every exit within arm’s reach of the tray
Triage fails when a piece of paper has nowhere to go. If the shredder is upstairs, the card offer goes back on the counter. Before the next delivery, set a recycling bin and a shred bag or small shredder right beside the tray, and have the document box for originals ready.
In a shared home, add one small tray per person. Mail addressed to someone else goes straight into their tray, and one person owns the Action folder so shared bills never belong to nobody.
Decide each item the first time you touch it
Empty the tray twice a week in one sitting, standing at the recycling bin. Open every envelope and drop the envelope and inserts in the bin before reading. Then every item leaves with one of four outcomes.
- Bin it. Junk and anything you will never need again goes straight out, shredded if it shows an account or ID number.
- Act on it. If paying, signing or replying takes under two minutes, do it now. Otherwise scan it into your Action folder and create a task with a due date.
- Scan and shred. Records you want to keep but do not need on paper.
- Scan and keep. Documents from the keep-the-original list below get scanned for reference, then go into a labelled document box.
Some items cannot be resolved in one sitting: an insurance claim, a disputed charge, a tax notice. For these, the one touch means deciding the next physical action and writing it in the task, such as “call insurer Thursday, claim number on page 2”.
If you already run a full GTD system, the tray is simply one more collection point feeding the same lists.

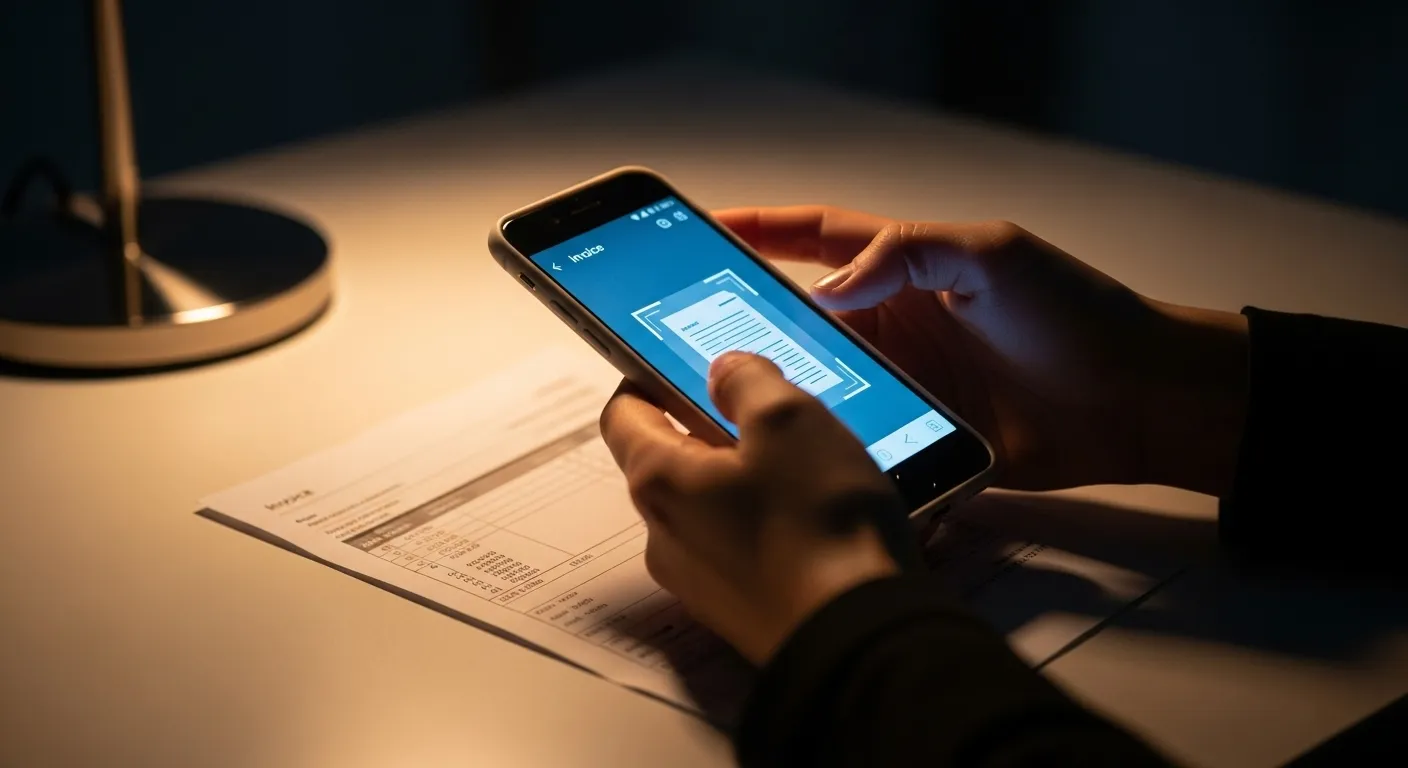
Step 2: Set up your phone as the scanner
A sheet-fed scanner only earns its desk space if you process more than a few dozen pages a week. For a typical household, the phone you already own is enough.
iPhone and iPad
Apple’s Notes app has a scanner built in. Open a note, tap the camera or attachment button and choose Scan Documents, as described in Apple’s guide to scanning documents in Notes. Leave it in Auto mode so it captures as soon as it detects the page edges, then tap Save. To move the scan into your filing system, open it, tap Share, choose Save to Files and rename it there.
Android
In the Google Drive app, tap the camera (Scan) button in the lower-right corner. Google’s Drive help page covers scanning receipts, letters and billing statements and saving them as PDFs, and you can set the file name and destination folder before you save.
Settings that matter
- Save as PDF, not as a photo, so a five-page contract stays one file.
- Use grayscale for plain text and colour for anything with seals, stamps or ink signatures you might need to show.
- Check legibility before shredding. Zoom in on the smallest print, usually account numbers and totals.
- Know whether your storage searches inside scans. Some services run text recognition (OCR) on PDFs and some do not. If yours does not, the file name has to carry everything you would search for.
Step 3: Name every file the same way
Use one pattern for everything: YYYY-MM-DD_Vendor_Type. Take the date from the document itself, not the day you scanned it. Year-first dates sort chronologically in any file browser, and underscores instead of spaces survive every sync service.
- 2025-01-31_Employer_W-2.pdf
- 2025-03-14_CityWater_Bill.pdf
- 2025-06-02_ApplianceStore_Receipt-Dishwasher.pdf
- 2025-09-01_AutoInsurer_Policy.pdf
Keep a fixed list of about ten types (Bill, Receipt, Statement, Policy, Contract, Tax, Medical, Warranty, Letter, ID) so you never invent a new word for the same thing. Add detail after a hyphen only when the vendor sends you more than one kind of document.
Step 4: Build a five-folder architecture
Deep folder trees are where paperless systems quietly die, because every scan becomes a navigation exercise. Tiago Forte’s PARA method makes a similar case for digital notes: organise by how actionable something is and push finished material into an archive. For household paper, five top-level folders are enough.
- 00_Inbox: fresh scans waiting for a name. Empty it in the same session.
- 01_Action: bills to pay, forms to sign, claims in progress. Move each file out when it is done.
- 02_Tax/2025: W-2s, 1099s, deductible receipts, donation letters, estimated payment confirmations. One subfolder per year.
- 03_Legal-Vital: reference scans of IDs, deeds, titles, wills and active policies, plus a short note recording where each original is stored.
- 04_Archive/2025: everything else worth keeping, one subfolder per year.
Year subfolders turn the annual cleanup into a single action: when a year passes its retention period, delete that folder. For syncing, backups and the rest of your computer’s files, see how to organize your digital files.

Step 5: Decide what to shred and what to keep on paper
Scan-and-shred is a safe default for most tax paperwork. IRS Publication 583, written for small businesses, confirms that electronic storage systems, including scanned receipts, can satisfy federal recordkeeping requirements as long as the copies are legible and retrievable.
A small group of documents is different, because their value lies in the original. Government agencies generally ask for certified copies of vital records such as birth and marriage certificates and Social Security cards, and replacing them costs time and fees. Vehicle titles, property deeds and original wills belong in the same box, since a scan cannot stand in for them.
For tax records, the IRS guidance on how long to keep records sets the clock: generally three years from filing, six years if you underreported income by more than 25%, seven years if you claimed a loss from worthless securities or a bad debt, and property records until the limitation period ends for the year you dispose of the property.
| Document | Original or scan? | Folder and name | Keep for |
|---|---|---|---|
| Birth and marriage certificates, Social Security card, passport | Keep original; scan for reference | 03_Legal-Vital / 1990-04-12_County_ID-BirthCert | Permanently |
| Property deed, vehicle title | Keep original | 03_Legal-Vital / 2021-07-30_County_Contract-Deed | While owned, then follow the property rule |
| Will, power of attorney | Keep original; tell your executor where | 03_Legal-Vital / 2023-02-10_Attorney_Contract-Will | Until replaced |
| W-2, 1099, filed return | Scan and shred | 02_Tax/2025 / 2025-01-31_Employer_W-2 | At least 3 years after filing; 7 is a safe default |
| Deductible receipts, donation letters | Scan and shred | 02_Tax/2025 / 2025-05-04_FoodBank_Letter-Donation | Same as the return they support |
| Home purchase and improvement receipts | Scan and shred | 02_Tax/Property / 2024-08-15_Contractor_Receipt-Roof | Until the limitation period ends for the year you sell |
| Pay stubs | Scan and shred | 04_Archive/2025 / 2025-03-31_Employer_Statement-Pay | Until the W-2 matches them |
| Bank and card statements | Download, never scan | 04_Archive/2025 / 2025-04-30_Bank_Statement | One year, longer if they support a tax item |
| Warranties and manuals | Scan, or download the PDF | 04_Archive / 2025-06-02_ApplianceStore_Warranty | Life of the product |
Step 6: Stop paper at the source
Every account you switch to electronic delivery is paper you never have to process. Use the tray sessions as the trigger: when a paper statement arrives, log in and switch that account to e-statements before scanning it. Banks, card issuers, brokerages, utilities, insurers and payroll providers all offer this. A simple password system keeps the extra logins manageable.
- Prescreened credit and insurance offers (US): OptOutPrescreen.com is the official opt-out run by the consumer credit bureaus. Online requests last five years; a signed mailed form makes it permanent.
- Marketing mail: DMAchoice, run by the Association of National Advertisers, lets you opt out of mail from participating companies for a small registration fee.
- Catalogs: call or email the sender directly; it is usually faster than any registry.
- Receipts: choose emailed receipts at checkout, and set an email filter that labels them so they can be saved to the tax folder.
Picture a self-employed electrician who pays quarterly estimated taxes and receives around 30 pieces of mail a week, including invoices from two electrical wholesalers and paper receipts for parts picked up at the counter. After switching nine accounts to e-delivery, asking both wholesalers for emailed invoices and filing both opt-outs, the tray might hold eight items a week, and each twice-weekly session drops to about ten minutes.
The old backlog and sentimental paper
Do not feed an existing pile into the new pipeline on day one. Box it, label it, and start the system with tomorrow’s mail so the pile stops growing. Then work through the box in 20-minute sessions once or twice a week, using the table above as your sorting key.
Cards and children’s art are not admin, so they get one extra touch. Display them for a set time, then decide once: keepsake box, or scan and recycle. Our guide to building a digital capsule for your memories covers where those scans should live.
Upkeep: backups and the yearly purge
Scans are only as safe as their backups. Keep one copy in cloud storage and a second on an external drive you update monthly. Turn on two-factor authentication for the cloud account, because 03_Legal-Vital holds scans of your identity documents.
Once a year, right after filing taxes, delete any Tax or Archive year folders that have passed their retention period, update the note listing where your originals live, and shred any paper that slipped through. Keep the originals box somewhere fire-resistant, and make sure one trusted person knows where it is.






6 Comments