

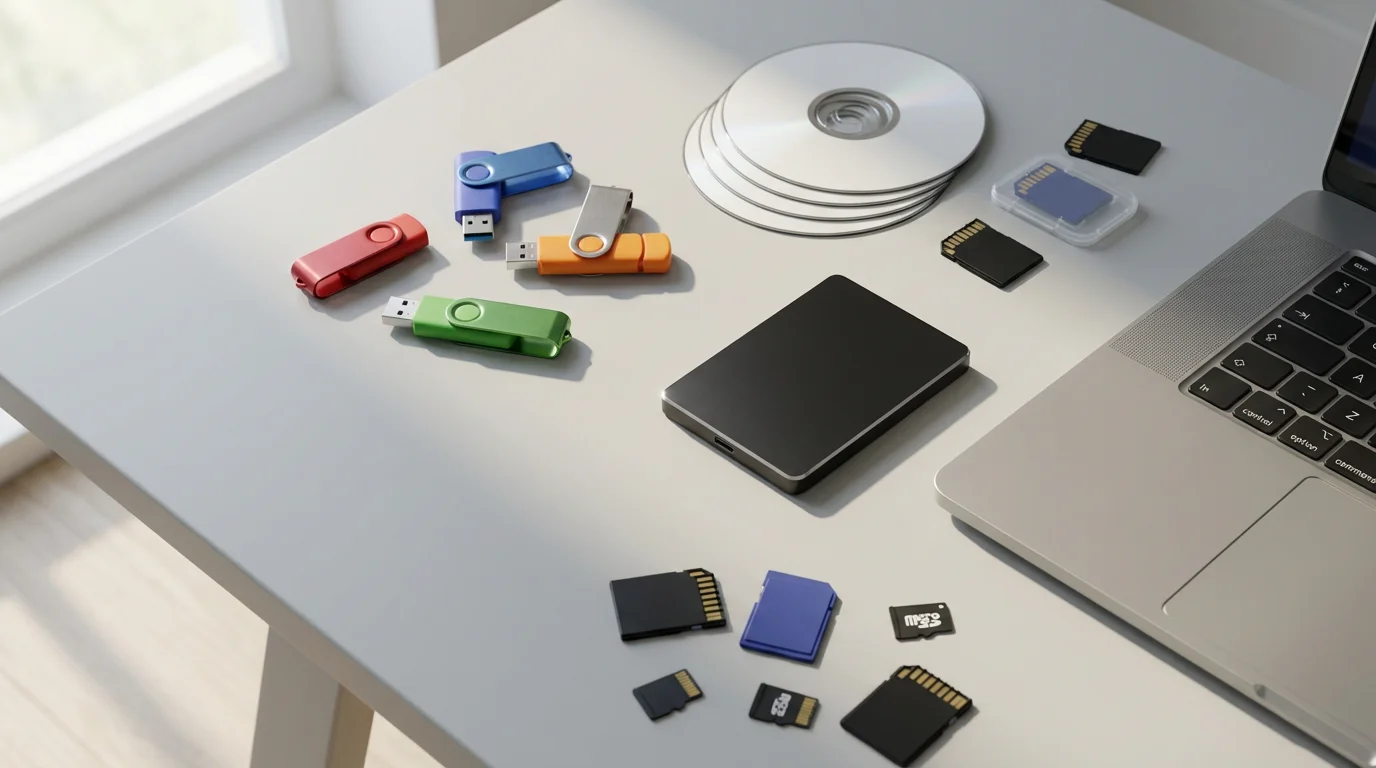
Your photos are probably spread across a phone, an old laptop, two cloud accounts and a drawer of memory cards, and no single place holds a complete, safe copy. Finding one picture from five years ago means searching all of them, and losing one device could mean losing years.
A digital capsule solves this: one curated, chronologically filed archive of the photos, videos and scans worth keeping, stored as three copies. You build it in four passes (gather, cull, file, back up), then keep it current with a short monthly check-in.
Capsule or backup: which problem do you have?
A backup copies everything indiscriminately. A capsule is selective. It holds the highlights and the meaningful ordinary moments, organized so you can find any of them in under a minute, and then backed up properly.
You need a capsule rather than just more cloud storage if any of these apply:
- Your photos live in three or more places and you are not sure which copy is the original.
- Your phone or cloud plan keeps warning you that storage is full.
- You could not rebuild a specific year’s photos if one device died tomorrow.
- Searching for a known photo takes longer than a few minutes.
Don’t limit the capsule to weddings and holidays. In a study of the time-capsule paradigm, Zhang and colleagues found that people significantly underestimate how much they will value rediscovering ordinary moments later. The unremarkable Tuesday dinner is often the photo you will be gladdest to have kept.
Step 1: Pull every source into one staging folder
Create a folder called Capsule-Staging on a large external drive, then a subfolder for each source: From-iPhone, From-Old-Laptop, From-Google-Photos. The subfolders show which sources are done and make it easy to recover if a transfer fails.
Don’t sort or delete anything yet. The Library of Congress guide to personal archiving makes the same point: first locate photos wherever they are scattered, then decide what matters. Mixing the two jobs is how people stall after the first folder.
| Source | How to export | What to watch for |
|---|---|---|
| iCloud Photos | On a Mac, select photos in Photos, then File > Export > Export Unmodified Original; or select items on iCloud.com and download | Apple’s guide explains how to export unmodified original files rather than re-compressed copies |
| Google Photos | Google Takeout: deselect everything except Google Photos, choose zip size and delivery | Takeout delivers the full archive as zip files; some dates and descriptions arrive in separate .json files beside the images |
| Android phone | Connect by USB, choose File transfer, copy the DCIM folder | Screenshots and app images often sit outside DCIM, in Pictures |
| Old computers, drives, cards, CDs | Copy Pictures, Desktop, Downloads and any DCIM folders whole | Copy first, sort later; cheap cards and burned discs degrade |
| Facebook and Instagram | Accounts Center > Your information and permissions > Download your information | Files are compressed; keep only photos that exist nowhere else |
| Dropbox, Google Drive, OneDrive | Download folders from the web or let the desktop app sync them | Often duplicates automatic phone uploads; clear these in Step 2 |
Step 2: Cull to the keepers
Do not start with 2004. Start with last month, run it through the remaining steps, and finish it. A finished month proves the system works; an untouched decade is where projects die. Work backwards one year at a time after that.
Remove duplicates by tool before you remove anything by eye. On a Mac running a recent version of macOS, Photos has a built-in Duplicates album under Utilities that finds identical and near-identical copies and merges them. Gathered collections commonly contain the same photo three or four times, so this pass alone can shrink the job considerably.
Then go through one event folder at a time and ask three questions of each shot:
- Does it bring back a specific person, place or feeling?
- Is it technically usable: in focus, reasonably lit, no thumb across the lens?
- Of the near-identical frames, is this the best one?
Delete without debate: burst sequences beyond the best frame, blurry and accidental shots, and screenshots of directions, receipts and shopping carts. Keep screenshots only if they capture a conversation or document you would genuinely miss.
Here is how the numbers can fall. A secondary-school teacher returns from a two-week trip with 2,400 photos and 60 videos. Merging duplicates removes 300. Cutting bursts to one frame removes another 1,100. A quick pass for blur and screenshots removes 500 more, leaving about 500 photos and 15 trimmed clips that are actually worth revisiting.

Treat video harder than photos because of its size. Keep the clips that matter (first steps, a wedding speech), trim long recordings to the essential minute, and consider a separate, larger drive for the video archive so photo backups stay fast.
AI tagging and similarity grouping in modern photo apps can speed this up. Let them find the candidates, but make the final keep-or-delete call yourself.
Step 3: File by year, month and event
Use plain folders, not an app’s album system. Folders open on any computer in twenty years; proprietary libraries depend on software that may not survive. The structure is:
Photo-Archive > 2023 > 08-August > Beach-Vacation
Number the months (01-January, 02-February) so they always sort in calendar order. Inside each month, name event folders plainly: Grandma-80th-Birthday, First-Day-of-School, Lake-Weekend.
For new photos only, adopt a file-naming convention such as 2023-08-15_Beach-Vacation_001.jpg. Files named this way still sort chronologically and say what they are, even if they get moved out of their folder. Don’t rename years of old photos; the folder path already carries that information.
Scanned letters, children’s artwork and family recipes belong in the same tree, either in the month they date from or in a top-level Documents folder. If you have a pile of paper to digitise, our guide to a paperless workflow covers scanning settings and naming. The same principles apply to the rest of your computer, as set out in how to organize your digital files.
Step 4: Keep three copies with the 3-2-1 rule
An organized archive on one drive is still one failure away from gone. CISA defines the standard protection as the 3-2-1 backup rule: three copies, on two types of storage media, with one kept off-site. The rule is widely credited to photographer Peter Krogh, author of The DAM Book.
| Copy | Storage medium | Example hardware or service | Sync frequency | Failure protected against |
|---|---|---|---|---|
| 1: Working copy | Computer’s internal drive or a dedicated external SSD | Laptop SSD or a 2 TB external SSD | Live; you add and edit here | None on its own; this is the copy that eventually fails |
| 2: Local backup | A different drive type: external hard drive or NAS | 4 TB external hard drive, or a two-bay NAS | Automatic hourly or daily (Time Machine, File History), or manual weekly | Drive failure, accidental deletion, laptop theft if stored apart |
| 3: Off-site | Cloud backup service, or a drive kept at another address | Cloud backup subscription with version history, or a drive at a relative’s home | Continuous (cloud) or swapped monthly (rotated drive) | Fire, flood, burglary, ransomware that encrypts local drives |
Two details matter more than brand choice. First, a sync service is not a backup: delete a file locally and sync deletes it in the cloud too, so choose a service that keeps deleted files and earlier versions. Second, avoid using two identical drives bought together, since they can share a manufacturing flaw.

Secure the cloud account with two-factor authentication and a unique password; a simple password system makes that painless. Once a quarter, open five random files from each backup. A backup you have never restored from is a hope, not a plan.
Keep it current in 20 minutes a month
The capsule only stays useful if new photos don’t pile up again. Book a recurring 20-minute slot at the start of each month, or fold it into a weekly digital review if you already do one, and run the same four passes in miniature:
- Gather: move last month’s photos from phone, camera and shared albums into an Incoming folder.
- Cull: run the duplicates tool, then cut bursts, blur and screenshots.
- File: move keepers into the right year, month and event folder.
- Back up: confirm the local backup ran and the cloud copy shows the new files.
For a household, create one shared album per event where everyone contributes, and name one person as the capsule keeper. Each month the keeper copies the best shots from the shared albums into the main archive, so the permanent capsule stays curated while everyone can add to it.
The first action is small: create the Capsule-Staging folder today and copy in last month’s phone photos. Cull and file that one month this week, and you will have the whole system working on a scale you can finish.




1 Comment