Most meal prep sessions stall before the first onion is chopped. The good knife is in the dishwasher, the mixing bowls are nested under pots on the far side of the room, and half the container lids are missing. Twenty minutes of a two-hour window disappear into fetching and washing.
Organize the kitchen around the order you actually work. Set up five zones that move food from fridge to container, then build one Meal Prep Power Zone where an entire session runs from a single cabinet, a single drawer and a clear stretch of counter.
Diagnose where your prep session leaks time
Before moving anything, run your next prep session as an audit. Stick a note on the fridge and make a tick every time you leave your cutting board to fetch a tool, stop to wash something you need again, or search for a lid.
The pattern of ticks tells you what to fix first:
- Lots of walking: tools are stored where they fit, not where they’re used. You need zones.
- Mid-session washing: you own too few boards or bowls for a batch, or the sink was full when you started.
- Lid hunting: the container drawer is the problem, and it is usually the cheapest fix.
- Clearing the counter first: your prep surface is doubling as storage.
Research on household time use found that households largely protect their food preparation time even as other responsibilities grow. That makes the window you set aside worth defending: every minute lost to fetching and washing comes out of time you have already committed to cooking.
Set up the five kitchen zones in workflow order
Kitchen planners commonly divide the room into five zones: consumables, non-consumables, cleaning, preparation and cooking. Arranged in roughly that sequence, food moves in one direction: out of storage, through washing and chopping, onto the heat and into containers. Real kitchens rarely allow a perfect line, but the closer you get, the fewer steps you take.
If your cupboards are packed with things you never use, cull first with our room-by-room decluttering guide. Zoning a crowded kitchen only rearranges the clutter.
Consumables: fridge and pantry
Group food by the role it plays in a session rather than by package type: grains and dry pulses together, tins and jars together, cooking oils moved next to the stove. In the fridge, give raw proteins the bottom shelf, decant washed produce into clear boxes, and keep one shelf empty on prep day for finished containers.
Visibility changes what you cook. A systematic review found that food placement, visibility and proximity reliably influence what people select, so put the ingredients your planned meals need at eye level and push snacks up and back. It is the same logic behind designing your space for automatic habits.
Non-consumables: dishes, glasses and cutlery
Store everyday plates, bowls and cutlery within one or two steps of the dishwasher or drying rack so unloading happens from one standing position. Serving platters, the holiday roasting tin and the fondue set go on high shelves or out of the kitchen; they are not part of weekly prep.
Cleaning: sink, dishwasher and bins
Keep soap, brushes, clean towels and the bin under or beside the sink. Add a scrap bowl that sits on the prep counter during sessions, so peelings go to the bin in one trip instead of twenty.
Start every session with an empty sink and an empty dishwasher. That way bowls can be rinsed and reused as you go instead of piling up and blocking the tap.
Preparation: the longest clear counter
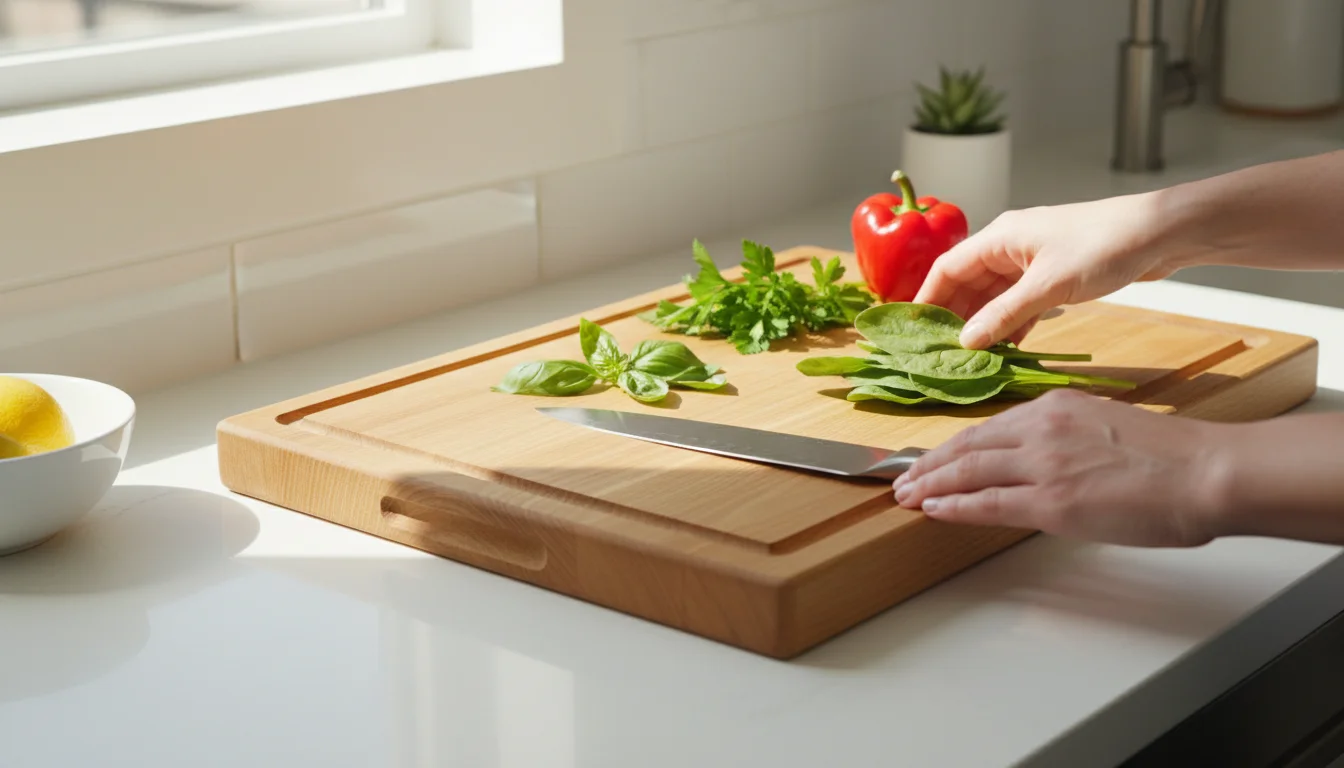
Your prep zone should be the longest uninterrupted stretch of counter, ideally between the fridge and the sink. Nothing lives on it permanently; knives go in a block at the back edge or on a magnetic strip on the wall behind it.
Height matters over a two-hour session. Ergonomic guidance commonly puts a comfortable working surface about 10–15 cm below elbow height. If your counter is too high for long chopping sessions, a sturdy board on a lower table works; if it is too low, a thick raised board helps.
Cooking: hob and oven
Pots, pans, sheet pans, spatulas, tongs, oils, salt and your five most-used spices belong within arm’s reach of the stove. Store sheet pans and trays on edge behind a vertical divider so you can pull one out without lifting the rest.
Build the Meal Prep Power Zone
The five zones make everyday cooking smoother. The Power Zone is what makes batch prep fast: everything a session needs, stored in one cabinet and one drawer directly beside the prep counter. Meal prep is a form of batching, and batching only pays off when setup costs are close to zero.
- Claim the space. Choose the cabinet and drawer closest to your prep counter. Whatever they hold now moves to its proper zone.
- Gather every prep tool. Chef’s knife, paring knife, peeler, boards, mixing bowls, measuring cups and spoons, colander, food processor, sheet pans. Put them all on the table at once.
- Size the kit to one session. Keep enough to finish a batch without washing: typically two large boards (one reserved for raw protein), three bowls in graduated sizes and two sheet pans. Duplicates go to the back of a high shelf or out the door.
- Fix the container drawer. Match every lid to a base and recycle the orphans. Standardize on two or three sizes from one product line so lids interchange, then file lids upright in a divider beside the nested bases.
- Add the finishing kit. Masking tape, a marker and freezer bags go in the same drawer, so labeling happens at the counter instead of after a search.
- Do a dry run. Stand at the counter and reach for each item. Anything that needs more than one step or a stool is in the wrong place.
Take a firefighter on 24-hour shifts who preps on a day off for the next stretch, packing two meals for each of two station shifts plus three dinners at home. That is seven main portions, so they keep nine main-size containers (two spares for when some are in the dishwasher or still at the station) plus four small ones for sauces. Anything beyond those thirteen is storage, not prep kit, and lives elsewhere.
Five-zone layout and tool placement checklist
| Zone | Core tools kept here | What to remove | What it saves you |
|---|---|---|---|
| Consumables | Grains, tins and jars grouped by role; clear produce boxes; one empty fridge shelf on prep day | Expired items, duplicate open packets, snacks at eye level | Ingredients gathered in one trip; shopping list written from a glance |
| Non-consumables | Everyday plates, bowls, glasses and cutlery near the dishwasher | Serving platters, seasonal bakeware, rarely used glassware | Dishwasher unloaded without crossing the room |
| Cleaning | Soap, brushes, towels, bin, scrap bowl | Surplus cleaning products, the bag of bags | Scraps and rinsing handled in a few steps |
| Preparation | Clear counter, knives, boards, bowls, measuring tools, food processor, container drawer | Mail, fruit bowl, appliances used less than weekly | No setup; the session starts when you open one cabinet |
| Cooking | Pots, pans, sheet pans, spatulas, tongs, oils, salt, core spices | Once-a-year specialty pans, duplicate utensils | Never leaving a hot pan to fetch oil or a spatula |
Making it work in a small kitchen
The zones still apply when you have a single run of counter; they just compress. One drawer might hold the whole Power Zone, and the cooking zone might be the cabinet directly under the hob.
- A board that fits over the sink adds temporary prep surface exactly where rinsing happens.
- Tension rods set vertically inside a cabinet create slots for boards, trays and container lids.
- A rail or magnetic strip on the backsplash gets knives and utensils off the counter.
- Single-purpose gadgets lose their place: a sharp knife covers the garlic press, avocado slicer and egg slicer.
- On prep day, stage finished containers on a sheet pan on the dining table rather than covering your only counter.
Keeping the zones from drifting
Kitchen organization fails slowly. A blender lands on the prep counter, lids migrate, and within a month you are fetching again. Three habits hold the line.
Reset after every session. Before you sit down, return the Power Zone to baseline: tools washed and put back, containers out of the dishwasher and lidded. For the rest of the week, a short evening routine like the 10-minute daily tidy-up keeps the prep counter clear.
Plan before you shop. An organized kitchen does little if prep day starts with deciding what to make. A large study of French adults linked advance meal planning with greater food variety and better diet quality, though it shows an association rather than proof that planning causes the difference. Fold the menu into your weekly planning session and check the consumables zone against it.
Rehome anything that keeps escaping. If an item leaves its zone twice in a week, its home is wrong. Move it to where it keeps ending up, as long as that spot sits in the zone where the item is used.
In shared kitchens, label shelves for the first month and frame changes around convenience: “All the coffee things are in this cupboard now, so nobody has to hunt.” People follow a system when it is easier than ignoring it.
The payoff goes beyond tidiness. Households that cook dinner at home more often tend to have higher diet quality scores without spending more on food, and a kitchen where prep takes little effort is one where cooking at home stays the easy default.